Series of furniture for staff
 Office desks
 Office cabinets
 Office pedestal
 Office partitions
 Office Accessories
 Series of offices for the head
 Executive desks
 Executive chairs
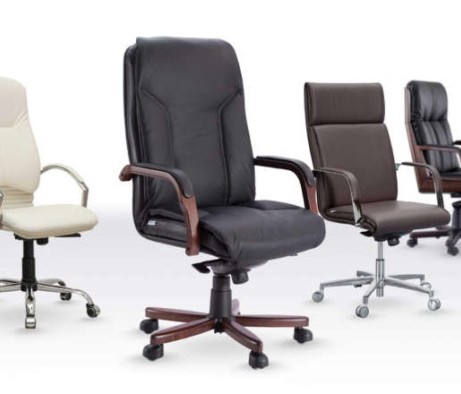
 Wooden chairs
 Staff chairs
 Office chairs
 Computer chairs
 Bar and pab chairs
 Soft chairs
 Office sofas
 Poufs and banquettes
 The negotiation area
 Acoustic cabins
 A series of furniture for the reception area
 Straight reception desks
 Corner reception desks
 Round reception desks
 Corner office desks
 Tables for staff
 Writing desks
 Computer desks
 Dining tables
 Desktop Office Partitions
 Coffee tables
 Office wardrobes for clothes
 Office filing cabinets
 Archive cabinets
 Loft racks
 Office shelving
 Marker boards
 Footrests
 Office Hangers
 Benches
 Bookcases and shelves
 Storage & Organization
Features of an office chair

Backrest
First of all, let’s make it clear how an office chair differs from a usual one. For instance, a dining chair is not designed for sitting on for a long time. It does not have a proper backrest that would follow the curve of your spine and relieve stress in it. However, an office chair has a special construction that provides your spine with decent support reducing the stress on your back and neck muscles.
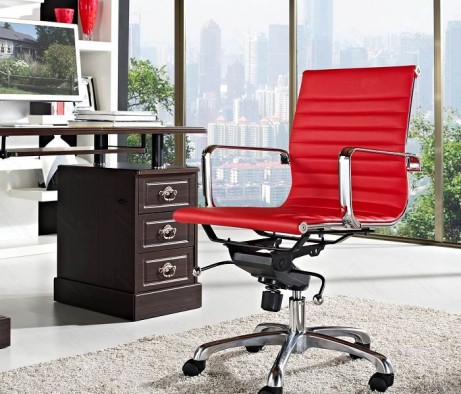
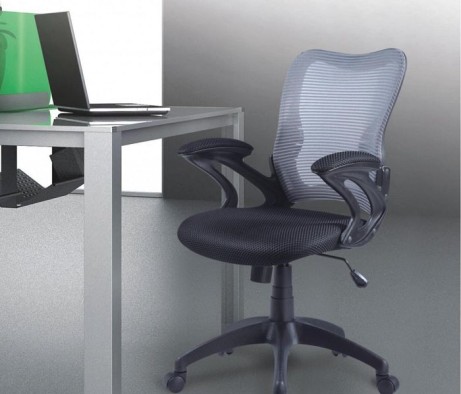
The photo below illustrates a great example of a good office chair with the right backrest.

Armrests
Another distinctive element is armrests. In combination with a well-selected backrest, they ensure the right position of your back, neck and arms allowing you to keep sitting for a long time without any pain in your lower back or spine.

Headrest
Some office chairs also have a headrest. Such a construction relieves stress from your neck almost 100% and will give it maximum rest during the break. It is important to select a headrest that would be at the same level as your head. It is better to buy an office chair for individual use, since body height and build may vary. This will affect the overall physical state, and in some cases, will also increase the load.
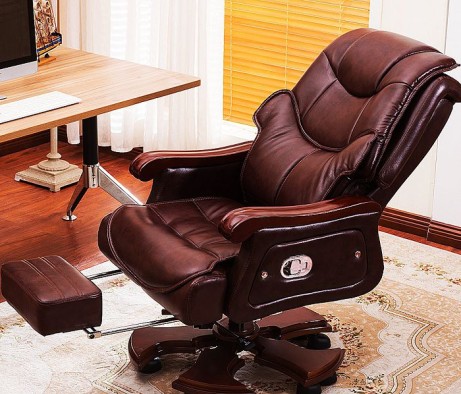
The photo below shows the right office chair.

Office chair anatomy
We enumerated the most pivotal elements that should be paid attention to when buying a chair for office work. However, when the chair is delivered, included are other elements apart from a backrest and armrests (sometimes including a headrest). Let’s figure out what they are and why we need them:
- Backrest. Provides support for the back.
- Seat. Ensures comfort when sitting.
- Base. Most often, it has five spokes. This is the “foundation” of the chair, in other words, what it stands on.
- Casters. They are attached to the base, and provide mobility of a computer chair, which allows you to easily maneuver around the office room and between tables.
- Gas lift. A part that allows you to adjust the chair depending on the person’s height and needs (higher or lower).
- Gas mechanism. A mechanism that connects the seat and the gas lift for height adjustment.
- Armrests. Just like the headrest, they are considered an optional element. This means that not all chairs can be equipped with them. Despite this, doctors who took part in the design of the office chair recommend purchasing chairs with armrests.
- Armrests. Just like the headrest, they are considered an optional element. This means that not all chairs can be equipped with them. Despite this, doctors who took part in the design of the office chair recommend purchasing chairs with armrests.
Assembling on your own
There are situations when it is inconvenient to call an assembly worker due to geographical location or other reasons. In that case you have to assemble the computer chair yourself because as a rule it is delivered disassembled.
It is not a difficult process, and anyone can handle it, but it is better to get ready beforehand.
Preparation for the assembly of an office chair
Before assembling a comfortable chair out of the scattered parts, you need to do the following:
- Make sure there is enough space for assembly. If you have an assembly table at home or in the office, you should use it. If you don’t have one, it’s better to assemble the chair on the floor
Lay some oilcloth or any fabric down to avoid scratching the flooring and to quickly remove dust or any other debris when you’re done.
- Study the instructions and the package contents.
You need to make sure that the instructions correspond to the actual office chair you purchased and that all the parts listed are present. Otherwise, you simply will not be able to assemble the desired structure.
The assembly instructions may look like this:

Here are shown the parts that should be included in the kit and their quantity. Next to it are the instructions themselves in the form of pictures and numbers with a description of the steps.
- Check the parts for defects or breakage.
All elements of the future chair must be intact, without damage, abrasions and scratches.
Alternative solution
Some modern manufacturers decided to simplify the assembly process of an office chair and offer their customers to purchase an item that already includes 2 assembled parts. As a rule, they are the seat with an adjustable backrest and the chair “foundation” or its leg, i.e. the part that supports the chair with adjustable height.
In this case a customer just needs to put 2 elements together using the necessary parts for that.
Key points when assembling an office chair
In order to assemble an office chair, you need to take the following into account:
- Make the assembly process your top priority. Be extremely careful to choose the right part according to the instructions.
- Before moving to the next step, make sure all the elements are properly secured at this stage.
- Do not try to skip some steps hoping they are not important. Every step matters.
- Ensure the tightness of the screws. It is better to turn the screw stronger rather than sit down and break the assembled construction.
- Having finished the assembly, do not stretch your chair’s limits by using it as a ladder. Moreover, it would be a real risk for your safety and health, especially if the chair has casters.
Remember that the office chair is intended for sitting.

Assembling an office chair according to standard instructions
As soon as you have completed all the preparations, you can proceed to the assembly of an office chair. Do not be afraid. If you read the instructions carefully and correctly, doing the job will be a piece of cake.
You will not need a big toolkit; a basic one will suffice along with some basic skills of working with it.
Seat and backrest
This is the first thing you should start with.
Here are a few options. Opt for the one suitable for your particular case:
- The chair is presented as an assembled single unit with armrests which is ready to be attached to the seat.
- A disassembled item where you need to join the backrest and seat together yourself.
The second option is more common. At least it is more convenient for transporting.
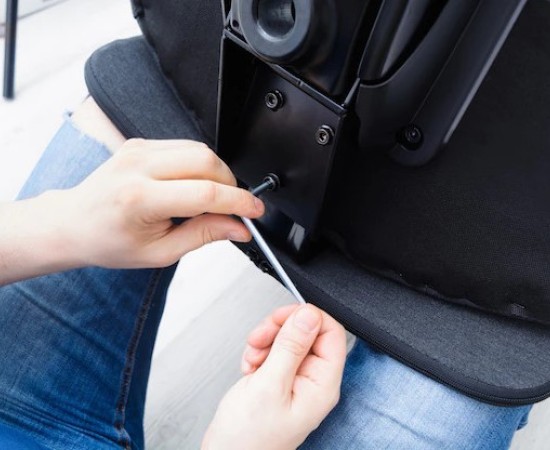
Preparing the seat
- Attach the gas mechanism to the seat according to the instructions (it should be located on the bottom side) in order to later attach the gas lift to it and the mechanism itself (to the back side) for the backrest. Note that the hole for installing the gas lift should look forward, and the screw with the handle, which is located next to the position - backward. These elements are screwed using bolts and an Allen wrench. Make sure that all bolts have flat and lock washers to prevent them from loosening. Flat washers will increase the contact area on the inner surface.
- Tighten the fasteners securely. This will help your chair last longer.
- Identify the right place for each armrest (left and right) and fix them with three bolts from each side. There should be holes for the bolts on the seat. It is quite common when models have the fastening done by means of brackets on the seat frame itself, and it is usually metal.
- Place the brackets into the side holes and then tighten them with screws.

Preparing the backrest
Attaching the backrest to the assembled seat is simple. Just insert the backrest to a special mechanism on the seat and fasten it with a shaped screw. Try to fasten them as tightly as possible. It will affect your safety in the future.
There are different mechanisms that may adjust the backrest position. Here are the most well-known ones:
Spring-screw mechanism (or SSM);
It adjusts the tilt angle of the backrest as well as the distance between the latter and the seat. They are normally used together with a gas mechanism.
Gas mechanism;
Adjust the vertical position of the seat and backrest towards the floor. Used together with the SSM.
Top-gun;
It is this part that fixes the backrest when tilted and allows you to “rock” on the chair at an angle of up to 130 degrees without tipping over.
Preparing the leg of the office chair
You will need:
- Complete upper part, i.e. the set with the backrest;
- Gas lift;
- Casing;
- Base.
Steps:
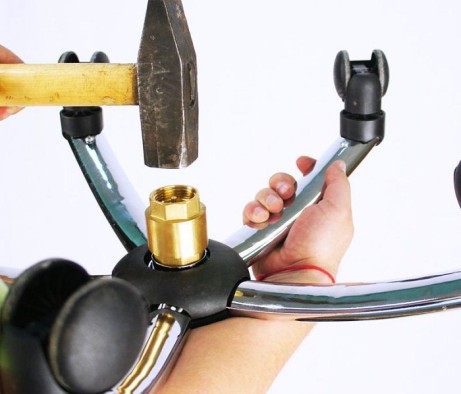
- There are special caps at the end of the gas lift that you need to take off, otherwise they will disrupt the work of the shock absorber. After that, put the leg of the gas lift in the center of the base where the hole is located.
- The next step is assembling the casing. It looks like a telescopic, or extendible, tube, which will help you adjust the height of the seat and conceal the gas lift. It should be put on the gas lift (put the casing in the center of the base socket).
Final stage of assembly
It can be said that the biggest part of your work is done. There are two parts in front of you, the seat with the backrest and the support. Now you just need to put the two mechanisms together.
In order to do that, you should put the upper part, that is the seat with the backrest, on the rod of the gas lift and then press hard the seat surface.
If you hear a clicking noise, that means that the chair is assembled and completely ready. Now you just need to check the gas mechanism. Try to use the lever to lift the seat up and down. You should be able to change the height and then return back to the initial position without any noise or friction. You may evaluate the readiness of your chair by the stability of its lifting. Do not forget to try the rocking option of the chair, but do not exceed its limits and do not try to lay down as it may lead to falling down.
You just performed a step-by-step assembly of an office chair following standard instructions. We do not recommend assembling the chair using any other directions because you risk:
- getting injured;
- breaking parts.

When your chair is ready, you may use it daily without hesitation.
Dismantling
If you assemble a certain item on your own, it will be just as easy for you to dismantle it. To achieve this, follow the instructions in the reverse order and take off the parts in turn. Lubricate the joint, where parts touch together, with specialized oil before dismantling the chair.
Sometimes it occurs that details adhere to each other or get compressed after a long-life cycle of a chair. In this case, it is better to use electric equipment. You may have to use physical force as well.
Be careful not to damage the parts of the office chair and lose the chance to reassemble it again.
Advice
If you are not sure of your own abilities, or you are afraid of damaging the parts, it is better to ask a professional for help. Not only will they save your time, but your nerves as well, that you may waste while trying to assemble an office chair on your own.
Conclusion
Assembling an office chair by yourself is essential and simple.
Believe in yourself, get armed with the instructions and with patience, be careful and attentive, and you will definitely succeed.